Description
This revit add-in (Excel Export-Import) allows users to export Schedule from Revit to Excel. Users can change the data information from the exported Excel file and put the information back into the Schedule Revit, the data in Revit will update automatically according to the changed data. The information modification is accurately controlled and easily synchronized.
Benefits
- Strict information management to avoid errors.
- Data storage, easy access, export quickly and optimize.
- Reduce human cost risk, speed up the project.
Limitation
- Do not work with the elements inside a “Group” on the Model.

- Not support import with the Materials Schedule.

Installation sequence
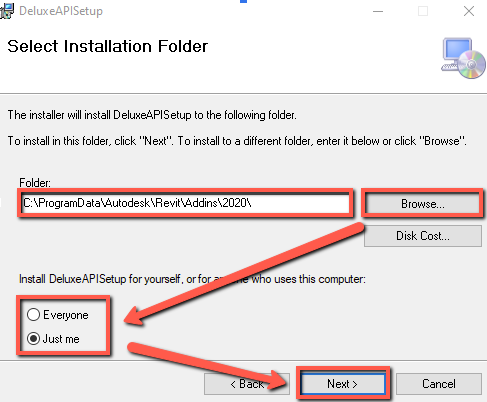
- Save the API to local drive or Server. Double click the ***APISetup.msi file submitted to start install.

- Click “Next” to continue

- Click “Browse” to choose the path save the data will be installed, if you don’t want to set it you can ignore and use the default path.
- Choose install for Everyone user or only your user.
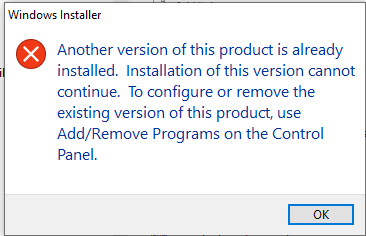
Note: If you see an error as below during the install process, you need to uninstall the old version and run install again from step 1.
Export Schedule From Revit To Excel
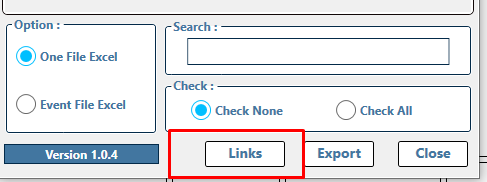
- In the Revit environment, open the “BOM Schedule” addin as below:

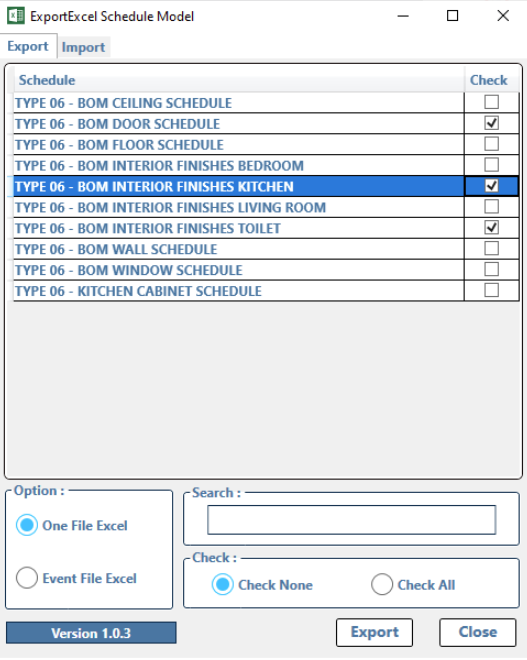
- Setup to export:
Click the “Export” Tab
Select the BOM schedule you need to export at “Check column”
Choose option :
One File Excel: All BOM schedules will be exported to only one excel file
Event File Excel: Each BOM schedule will be exported to each excel file
Click “Export” to continue
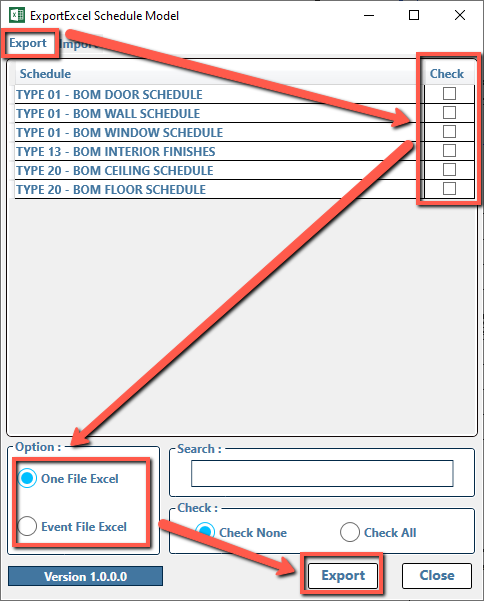
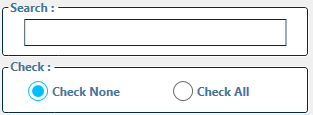
Note: You can select from “Search” bar the required.
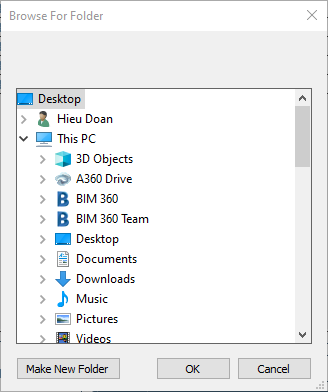
- Select the path will save the excel file after export and click “OK” to continue.
Note: When it shows the notification as below, the process export completed.

Go to the folder you choose to save the exported file. Open and work with it.

Note: Only the “gray color” columns can change information and auto import into Revit.

Import schedule information changed from excel to Revit
- After the information in the Excel file changed, you can follow the steps below to auto-update that information into Revit.
- In the Revit environment, open the “BOM Schedule” addin as below:
- Click the “Import” Tab.
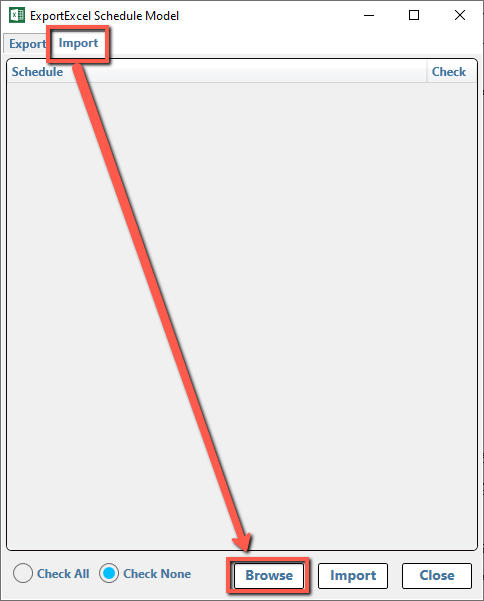
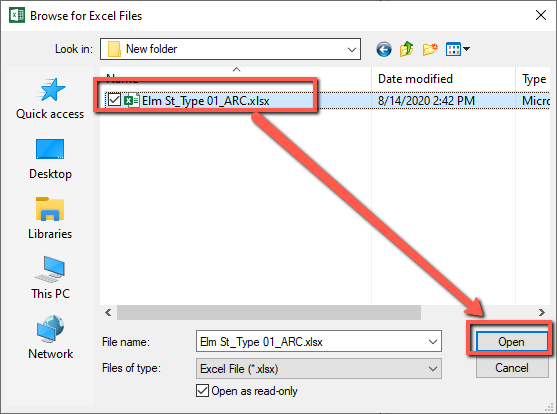
- Click “Browse” to choose the Excel file need to import
- Select the schedule need to import into Revit and click “Import” to implement
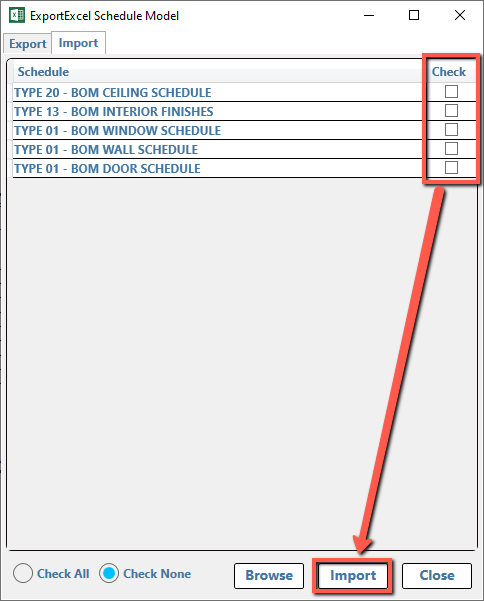
- Waiting process complete.

Note: When it shows the notification as below, the process export completed.

Demo
Log Changed
V1.0.1:
First Demo
V1.0.2:
First Release

V1.0.3:
Update UI And Logic Update Performance, Operating Speed
V1.0.4:
Update Export Schedule Support Include File Revit Linked In Model.